 |
| Here we see Typar, tuck tape, and lath meeting a wood subfloor |
 |
| An outlet |
 |
| Air and vapour sealing around the windows |
 |
| Almost ready for a window |
 |
| It feels good to have windows to look through |
|
| Here we see Typar, tuck tape, and lath meeting a wood subfloor |
|
| An outlet |
|
| Air and vapour sealing around the windows |
|
| Almost ready for a window |
|
| It feels good to have windows to look through |
 |
| Two wonderful women working in sync |
 |
| Finnlee ready to help! |
 |
| Zander is ripping some lumber |
 |
| Friends have chipped in from time to time. Thanks for your help Austin. Glad to see safety first, the eyes in the top of your head are well protected! |
 |
| Stitching, a two person job. Jan and Heather work well together |
 |
| In this case the size of the needle really does matter |
 |
| Here we see a gap in the straw that needs filling. Gaps like these became known as black holes. So much straw disappears into them |
 |
| The handmade straw stuffer in action |
 |
| Our friend Nicole stuffing straw in the foreground and Chris prepping flashing in the background |
 |
| Can you tell we're excited to be putting the last ones in? |
 |
| We're happy and exhausted |
 |
| A bale re-strung and tied, then notched with a chainsaw ready for the wall |
 |
| Inside South/East corner. Notice the strapping along the East wall to the right of the window. Those will be the supports that our kitchen shelves will be attached to. The straw bales have to be cut to fit around them |
 |
| Zander and Chris fitting the last few bales into the top of the South wall |
 |
| Here you can see how the bales fit around the studs. When the walls are done, the studs will all be inside the bales and not visible from the inside or outside |
 |
| Chris on his makeshift scaffold. A board hanging from the roof because the regular scaffolding can't sit on the ground on the East wall with all the rocks! |
 |
| My 2 men working on the top of the South East corner |

 |
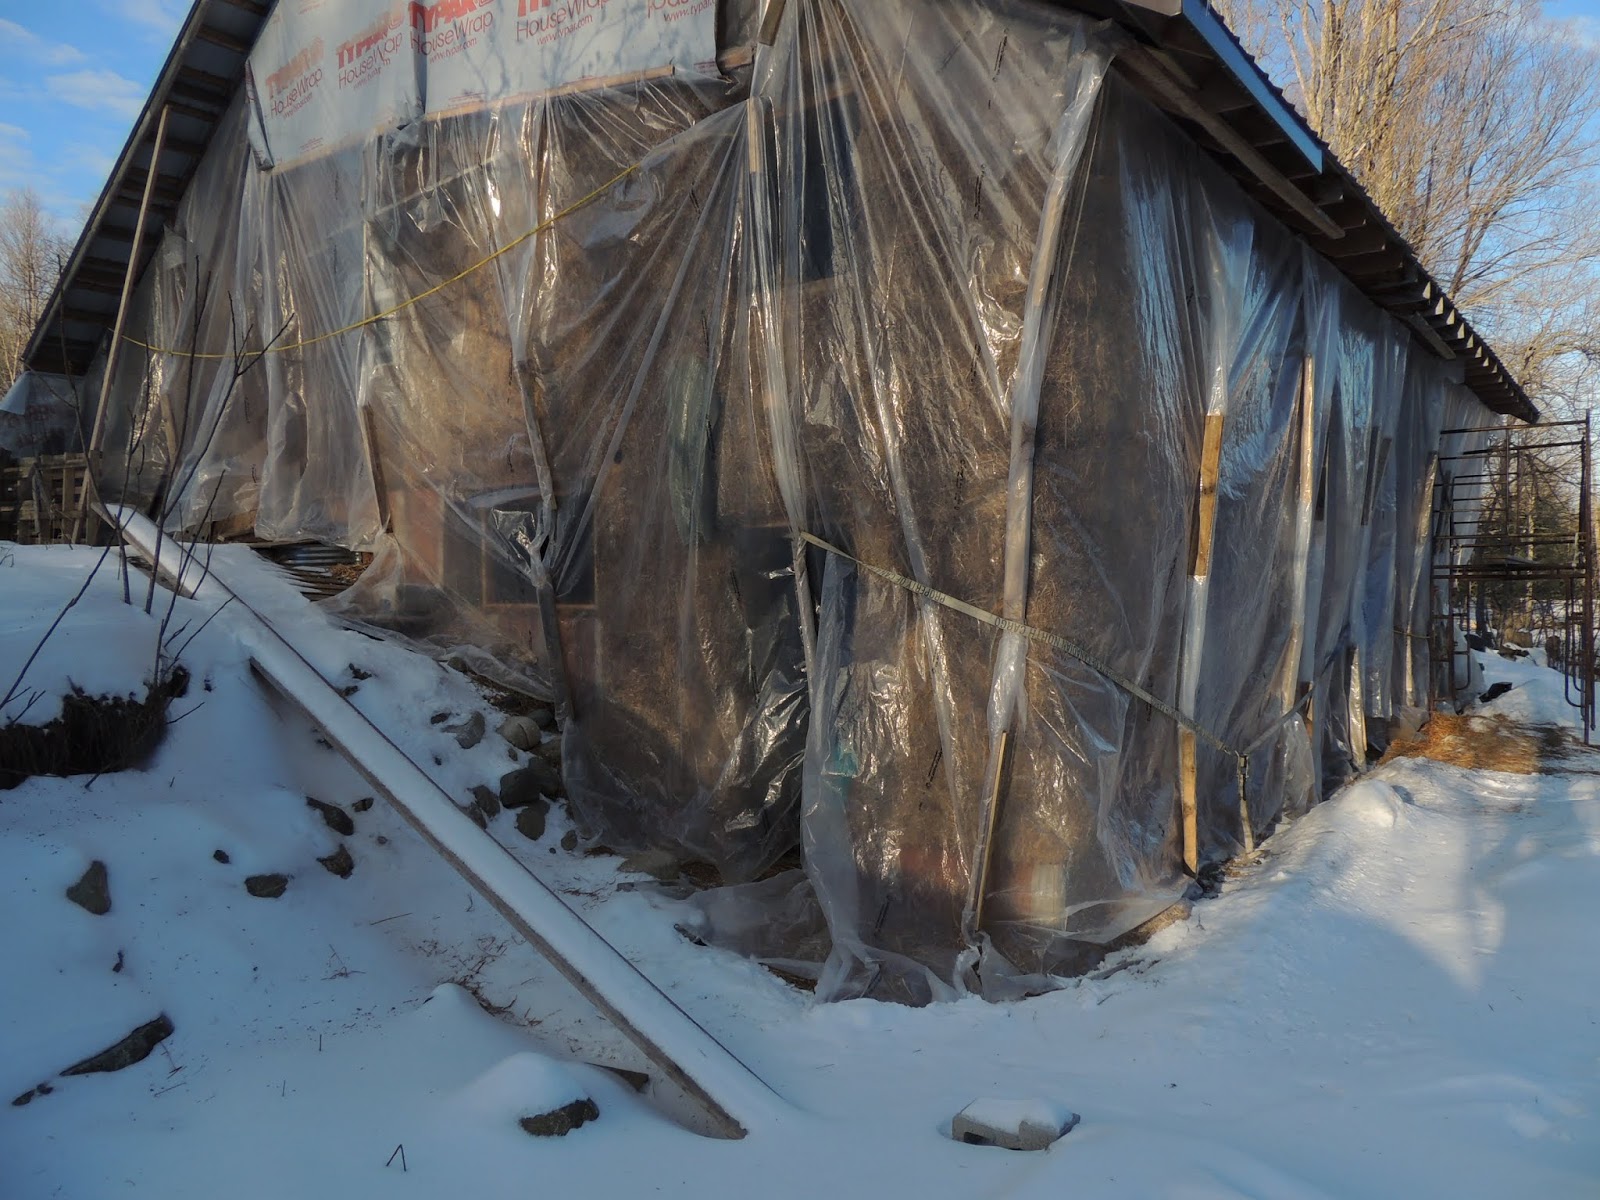
| The "hallway" created by the hanging plastic hoarding covering the entire house. This plastic protects the straw from moisture until it can be plastered this spring, and it gives Chris a safe place to work out of the weather. On the left is the North wall, already filled with straw. |
 |
| Chris on top of the straw in the West wall of the girls' bedroom |
 |
| West wall of the second level, the girls' bedroom |
 |
| Laundry/mud room West entrance |
 |
| My dad Steve, Zander, and Chris working on lining up the bales |
 |
| Zander loves working on the scaffold! |
 |
| Break time! |
 |
| Chris working on the two level South wall, above the main entrance |
 |
| Looking down on the South wall from the second story |
 |
| The hoarding doing its job, South wall |
 |
| The hoarding, South West corner |
 |
| The view down the hill to our house from my parent's house where we are still living |